Managing your environment
Select the "Your Environments" option from either the Dashboard or the left navigation.
You will then see a form enabling your environment to be created, as follows:
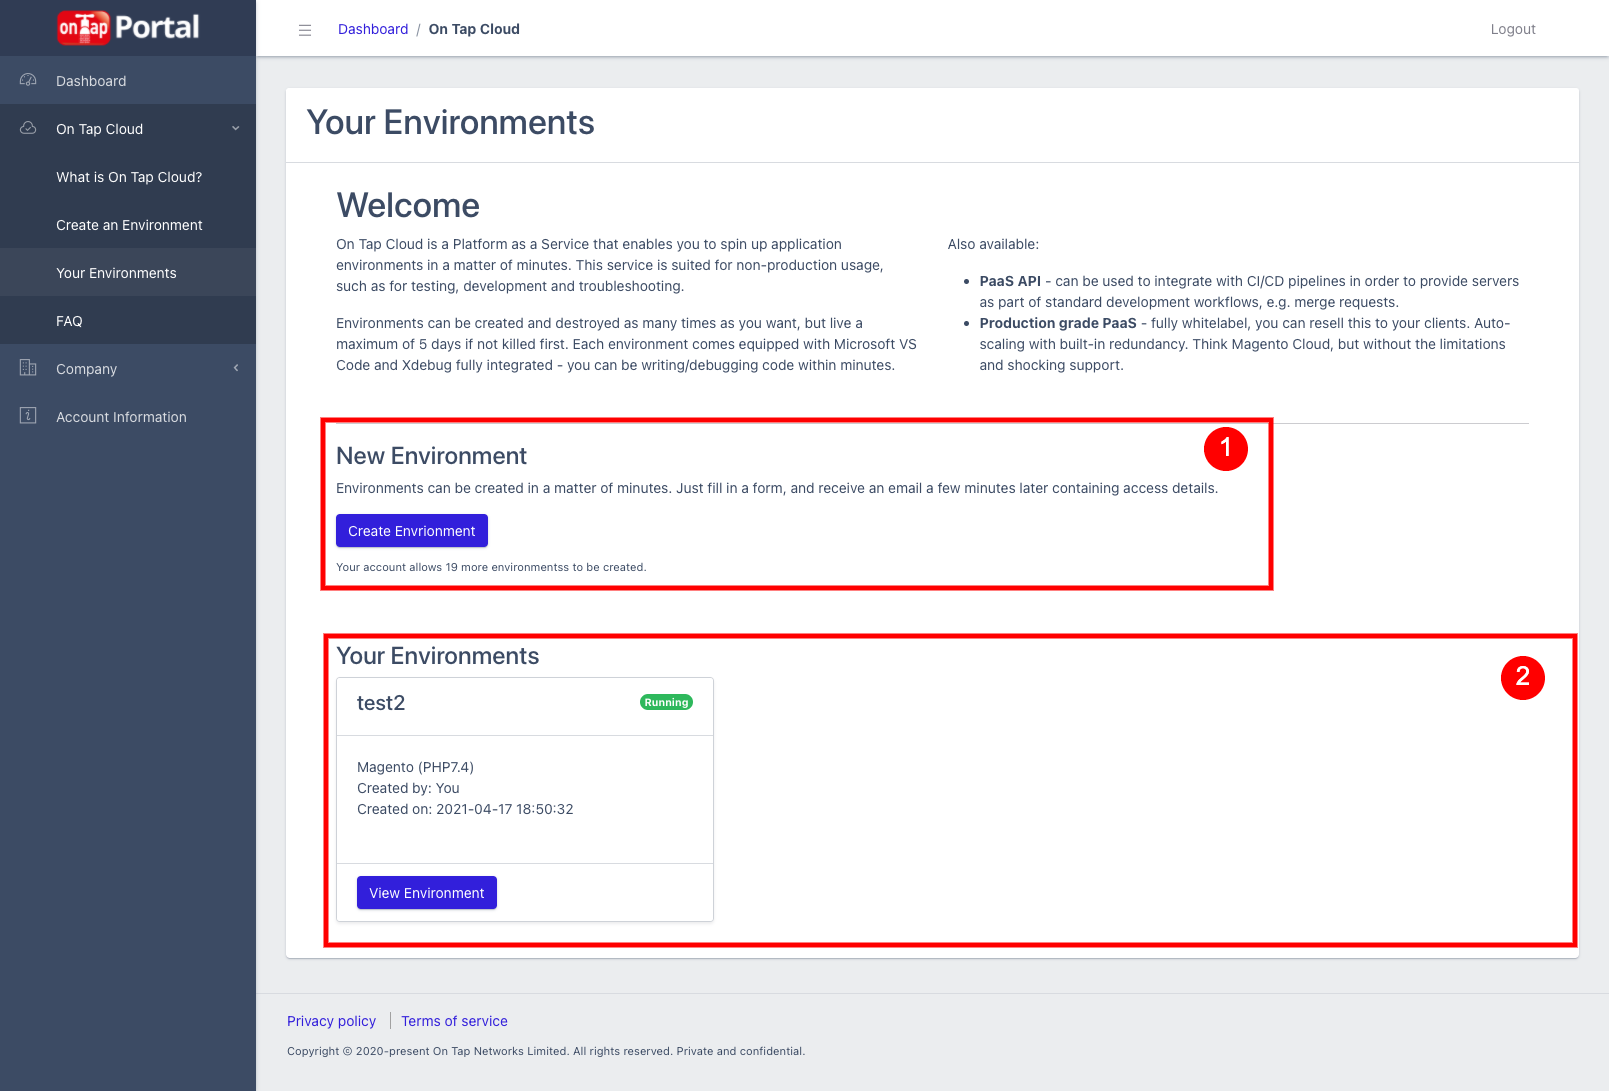
This page is split into two main areas, as follows:
1. New Environment
This section enables you to Create an Environment. It also shows you how many more environments can be created. Each account has a limit. Furthermore, if your account is setup with sub-accounts for other team members, then there is additionally a limit per team member. You can find out more information about these limits here.
2. Your Environments
This area shows all of the environments available to you. Each environment shown contains:
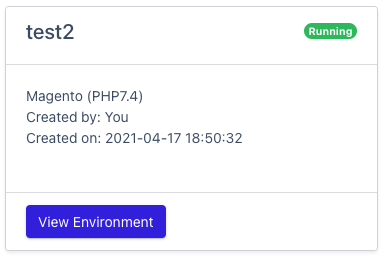
- Environment name
- Status of the environment
- Environment template used
- Name of the person who created it
- When it was created
There is also a button "View Environment" then enables you to see that environment in more detail.
If you are your company's administrator, then you will see environments that you have created as well as those from all of the team members on your account. Otherwise, each team member can only see their own environments.
Viewing an Environment
When you click on the "View Environment" button, you are shown the details of the environment.
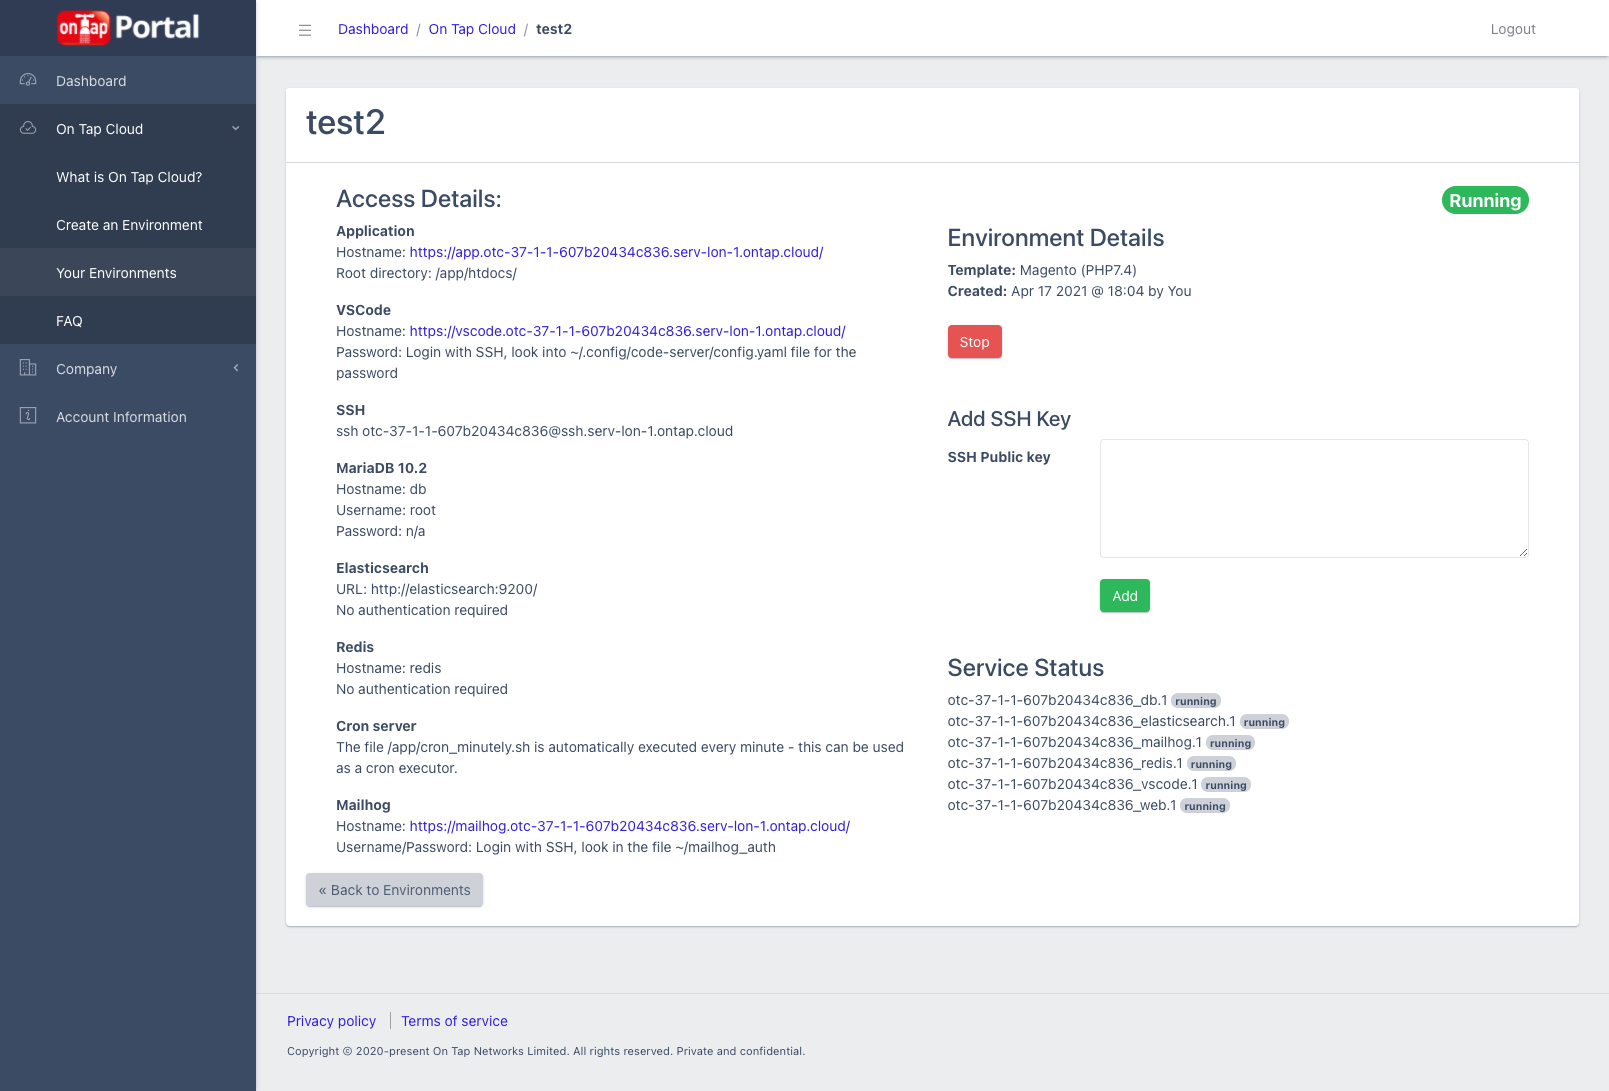
This page is both informational and functional. The sections of the page are as follows:
Access Details
This section shows you how to access your environment.
The information show here is dependent upon the Environment Template used. Some services (such as VSCode and Mailhog) require additional credentials to access them, and typically the Access Details section tells you how you can obtain those credentials, which are typically saved as a file within the environment. Therefore, you will need to log in via SSH to retrieve them.
Environment Details
This section shows you the Environment Template used, when the environment was created and who created it.
Depending upon the environment status, there are also additional buttons diplayed, as follows:
| Button | Purpose |
|---|---|
Stop |
This shuts down the environment. Please note: 1. The data is NOT lost if you do this. 2. The environment still counts towards your account limits |
Start |
This enables a stopped environment to be re-started. |
Destroy |
This enables a stopped environment to be destroyed. Please note: 1. The data is COMPLETELY lost if you do this. 2. This frees up the number of environments available in your account limits |
These actions can take a few minutes to complete.
Add SSH Key
When your environment was created, a SSH public key was added to it in order to provide you with access. However, if you require other people to access the environment via SSH, then you should use the "Add SSH Key" feature to provide that access.
Simply paste in the contents of their SSH public key into the field, and then click on the "Add" button. The process takes upto 2 minutes to achieve.
Please note, username + password authentication via SSH is not available.
Service Status
This section shows you the current status of the various services that make up your environment. Typically, these will show "running" next to each service. If there are problems listed here, and you additionally are having problems accessing an environment, then using the "Stop" and "Start" buttons may help.